
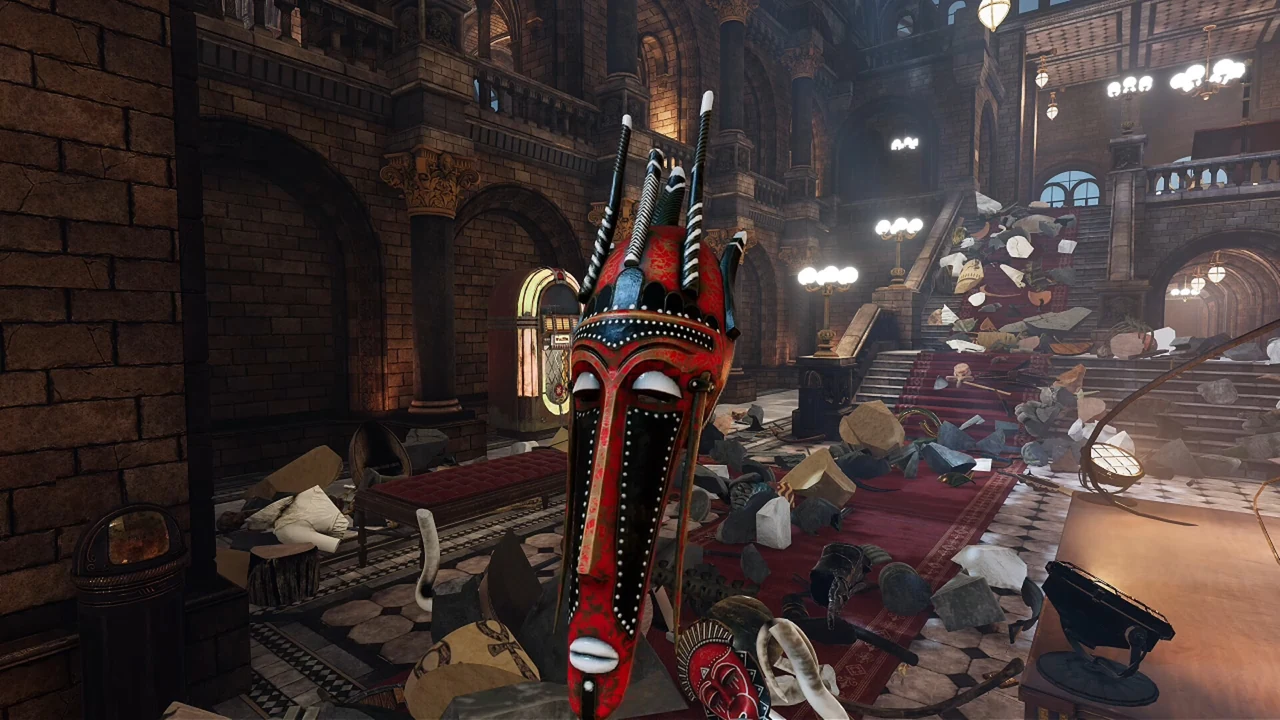
This handbook suggests a complete working method: choose an exhibit, identify a promising piece, compare its shape with the outline, check the result, and decide what to do next. Specific settings and recovery rules are linked to the developer's updates. The sorting and session-planning advice is our editorial approach, so you can adapt it to the displays you find easiest to recognize.
Before the first restoration session
Update the game before learning its current controls. The launch-period patches changed placement protection, added visibility options, introduced Easy Placement, and adjusted Lost & Found. A guide written for an earlier build can describe a menu or limitation that no longer applies. The updates covered here run through the official 2 October patch; compare later changes with the developer's update feed.
Choose your goal while the museum is still unfamiliar. A normal restoration run lets you explore active tools as they become relevant. An achievement attempt for Nobody Asked for Help needs a different habit: avoid activating restoration skills. Buying or unlocking a skill alone does not invalidate that challenge, but active use does. If you are unsure which goal you want, decide before testing a tool just to see what it does.
Make the interface readable before treating it as part of the puzzle. Inspect a carried-piece label, a room plaque, and an outline against a difficult background. Adjust the relevant contrast controls if necessary. A label you cannot read creates avoidable confusion when two similar fragments need different homes. The visibility guide separates flashlight brightness, outline color, and text backgrounds.
Do one small trial restoration before settling on a route. Pick an object that you can recognize from its outline and compare a likely fragment. Watch what happens when the placement is correct or when the fragment remains uncertain. Your aim is to understand the feedback for one object, then reuse that understanding. There is no need to identify the museum's entire collection before making useful progress.
Choose a first exhibit by readability
The most useful first exhibit is one whose shape gives you an immediate clue. Look for a distinctive outline, a fragment with an obvious joint, or an object whose material is easy to distinguish from the surrounding clutter. This selection method keeps the next decision concrete: which visible piece plausibly completes which visible part of the display?
Community recommendations differ. One manual-run player suggests the large central fossil displays as a way to learn the museum. Another prefers sea creatures, hats, and masks, and finds large skeletons less intuitive because similar bones are difficult to tell apart. Both approaches can be reasonable. Use the category that helps you recognize a successful fit, rather than assuming another player's preferred starting point must suit you.
Try two contrasting objects if the first choice feels opaque. You might understand a strongly shaped mask faster than a broken statue, or find a long bone clearer than a small artifact. That comparison gives you information about your own visual strengths. It is more useful than spending an entire session on the first exhibit merely because it was closest to your starting position.
Once you have chosen an exhibit, give the session a finish line. That can be fitting a few obvious fragments, resolving one confusing joint, or checking every likely piece in the immediate area. A manageable finish line lets you stop or switch tasks without losing the thread of what you were doing. It also prevents one ambiguous fragment from turning the rest of the museum into a distraction.
Use a repeatable inspection loop
Work through five decisions: identify the held fragment, choose the relevant exhibit, compare a distinctive feature, attempt the fit, and inspect the result. Keep that order consistent. If a piece does not fit, you then know which question to revisit rather than changing everything at once. Perhaps the exhibit is wrong; perhaps the fragment belongs there but its alignment is unclear.
Inspect a local feature before judging the complete silhouette. A broken edge, socket, bend, or narrow tip can be easier to match than a whole fragment viewed in isolation. Choose the feature with the fewest plausible matches and compare it against the outline. Once that feature makes sense, check whether the rest of the fragment follows the same interpretation.
Move your viewpoint before repeating an unsuccessful placement. From one angle, an edge may appear aligned while another part is hidden. A second angle can reveal whether the fragment is turned incorrectly or whether you chose the wrong part of the outline. This is a visual inspection technique, not a claim that a particular camera angle gives a special game bonus.
After each attempt, distinguish progress from uncertainty. A correctly placed fragment is something to protect. A questionable fragment needs another comparison. An unresolved fragment can be set aside in your attention while you work on a clearer neighbor. Do not treat every visible object as equally urgent; prioritize the one whose next action you can actually explain.
Group clues without inventing a rigid sorting system
Material, shape, and label are useful clues, but none should become an inflexible rule. Community players describe learning the general appearance of rooms and grouping similar-looking fragments. That is a way to narrow a search, not proof that every pale stone fragment has the same destination or that every weapon belongs in one room.
Begin with broad, visual categories you can recognize. Long shafts, curved fragments, bone-like shapes, and pottery edges may suggest different searches. Then refine the group using the exhibit and the held-piece label. If the label contradicts your initial visual guess, revisit the guess. Do not force an object into a category simply because its color resembles pieces you restored earlier.
Keep a useful distinction between identified and unresolved pieces. An identified fragment has a likely exhibit and a specific feature to compare. An unresolved fragment still needs that connection. Your working method can reflect this distinction without a complex spreadsheet: finish a clear match, remember the next uncertain label, and avoid repeatedly rechecking pieces whose fit you have already confirmed.
When two fragments look alike, search for the detail that separates them. Compare their ends, break lines, proportions, or labels. If you cannot name a difference yet, look at the intended exhibit for a missing feature that one fragment has and the other lacks. The aim is to turn a vague resemblance into a testable comparison rather than make a confident guess from color alone.
Let the growing exhibit provide the next clue
A partial restoration can be easier to read than an isolated pile. Use each confirmed placement as a reference for the next nearby shape. Ask which missing edge continues the outline and which candidate fragment could supply that edge. This keeps your attention on a visible relationship instead of requiring you to memorize a historical object from its name.
Do not assume the next fragment must be the smallest or the nearest one. A large, distinctive piece may make the rest of the outline easier to understand. Conversely, a small but unmistakable joint can clarify where a much larger fragment belongs. Choose the piece that reduces uncertainty. The exact best order depends on the exhibit and what you can currently identify.
If a newly placed piece makes the shape more confusing, inspect whether the fit is actually correct. The game distinguishes wrong placements from correct pieces protected against accidental removal. Use that feedback before deciding to dismantle everything. The placement guide explains why a quick tap may remove a wrong piece but leave a correct one alone.
When the partial object stops helping, change the question. Instead of asking where every remaining fragment belongs, ask which one missing feature is most recognizable. If no feature gives you a clear next step, try another exhibit and return later. A useful switch has a reason: you are leaving an ambiguity, not abandoning a display because the whole museum still looks unfinished.
Decide when Easy Placement will help
Easy Placement is useful when nearby exhibit outlines create ambiguity. The 1 October patch describes it as restricting a piece to its own exhibit and showing that exhibit's outlines. Enable it in Options > Game and compare the same fragment again. That gives you a controlled test of whether the problem was choosing the exhibit rather than fitting the fragment.
Do not expect the option to answer every shape question. The developer describes an exhibit-level restriction, not a guarantee of one exact highlighted slot for every piece. Once the relevant exhibit is clear, you still need to compare the fragment and inspect its alignment. If your difficulty is seeing the outline, improve contrast as a separate step.
Try this sequence when you are unsure what the setting changed: choose one confusing held piece, observe the available outlines, enable Easy Placement, and observe again without changing the held piece. You should be able to describe the difference. If you switch objects and rooms at the same time, it becomes harder to tell whether the setting addressed the original problem.
The startup difficulty question added in the 2 October patch can also offer Easy Placement. The developer says existing settings remain unchanged unless you alter them. Review what you selected, then continue with your existing save. A setup question appearing after an update is not, by itself, a reason to assume that your restoration progress has disappeared.
Preserve correct placements and reduce rework
The correct-piece protection update gives a deliberate removal action. A correctly placed fragment requires holding the interaction until the prompt bar fills; a quick tap should not casually dismantle that correct work. A wrong placement can still be removed quickly. Understanding that distinction saves you from repeatedly testing the same removal input and mistaking protection for a control problem.
Lock Correct Pieces is available in Options > Game > Comfort. Use it when accidental removal interrupts your restoration. Treat the setting as protection for confirmed progress, and check it if you later wonder why a correct fragment cannot be handled as expected. The choice should serve your working method: careful inspection and intentional adjustments are easier when the existing display stays stable.
Before removing a placed fragment, ask what evidence suggests it is wrong. An adjacent loose piece is not enough to show that the placed one needs to move. Inspect the fit and target the intended fragment carefully. Changing your viewpoint may be a better first step than pulling a piece out simply to see whether it was involved in the confusion.
For a stubborn insertion, separate placement from removal in your description. Are you trying to add a fragment to an empty outline, remove a wrong piece, or retrieve a protected correct one? Those actions can have different controls and expectations. A precise description makes the next check obvious and produces a much clearer report if the behavior is genuinely unexpected.
Use active tools around your current bottleneck
In a normal run, select a tool according to the task that is blocking you. Locating matching pieces, collecting them, and fitting the held fragment are different jobs. Identify the immediate obstacle before activating anything. If the problem is an unfamiliar outline, gathering another set of fragments may leave that same alignment problem untouched.
For Insight, the developer's key instruction is to hold a fragment from the intended set before activation. Looking at the exhibit is not enough to choose the target. Check the held-piece label, then use the ability. If an unrelated set lights up, start with target selection instead of assuming that the effect is permanently broken. The Insight guide gives a clean test.
Compare an upgrade's displayed description with the work you repeat most often. If you recognize pieces easily but struggle with final alignment, that is a different priority from spending most of your time locating matching fragments. We do not have a complete current numerical upgrade table, so this handbook does not promise a cheapest build or a universal optimal purchase order.
Keep the achievement goal separate from tool experimentation. If you are preserving Nobody Asked for Help, avoid using active skills in that save. Buying an upgrade alone is not the disqualifying action described by the developer, but testing its active function can be. Read the achievement guide before using a new tool during a manual challenge.
Build a reliable search pass for small fragments
Use a deliberate search pass when a recognizable object remains incomplete. Our suggested routine starts with the open floor around the relevant work area, then moves to boundaries and corners where a small shape is harder to notice. Keep one target in mind so that every unrelated fragment does not interrupt the search. This method organizes your observation; it does not claim fixed locations for individual fragments.
Check the carried-item list during the search. It is easy to keep looking for something while paying too little attention to what you already picked up. The Lost & Found update specifically added a message when missing pieces are already in your bag. That makes inventory inspection part of the final-fragment diagnosis, rather than a step reserved for a completely full collection.
For a dark area, test flashlight brightness on the same spot. Press F to cycle the available levels, or use the controller input described in the visibility guide. When the lighting is adequate, compare outlines and labels again. If the fragment is still absent, do not keep interpreting the lack of progress as a brightness problem.
Make one pass count before repeating it. At the end of a pass, note what you checked: the visible floor, the recovery area, the held list, or a specific exhibit. Repeating a search with no clear difference can consume a session without adding information. A second pass is more useful when you have a new clue, a better view, or a specific overlooked boundary to inspect.
Change tasks without losing your place
Leave yourself a compact handoff when you switch exhibits or stop playing. Remember the display, the unresolved fragment label if known, the setting you were testing, and the next check you intended. A short written note is optional, but the structure helps: identify the object, describe the uncertainty, and choose one next action.
For example, a useful next-session note might say that one statue still needs a narrow fragment, the held list has been checked, and the recovery threshold is not yet reached. That tells you to continue normal restoration rather than immediately revisit the recovery area. Another note might say that a held piece belongs to the correct exhibit but its joint needs inspection from a second angle.
Use stopping points that preserve a clear state. Finish an obvious placement, complete a search pass, or decide what you will test next. You do not need to resolve every ambiguous fragment before leaving the session. A well-defined uncertainty is easier to return to than a museum-wide feeling that everything is mixed up.
When you resume, repeat only the checks whose state may have changed. A game update can change a control or fix a fragment, so check relevant notes. A fragment already confirmed and protected does not need a complete reinspection merely because you took a break. This distinction keeps attention on new information and unresolved work.
Approach the final missing-piece stage
The current Lost & Found rule comes from the 2 October patch: the pause-menu button is always listed and becomes usable at fifty or fewer remaining pieces. Above that threshold, its message tells you how much is still missing. Below it, recovery can help with the final fragments. Older discussions describing a twenty-piece limit should not override the newer update.
Use the menu rather than hunting for a physical lost-property desk. The developer describes recovered fragments appearing on the main map in front of the T-Rex. After activation, inspect that area and check your carried-piece list. Returned fragments still need ordinary restoration; locating them is not the same as completing their exhibits.
If a named exhibit remains incomplete, record its label and any visible fragment number. A Ulysses & Argos discussion includes a developer-confirmed case of a piece leaving the map, but it does not establish that every missing fragment has that cause. Follow the recovery instructions, inspect the result, and report a remaining problem from the affected save rather than declaring a universal bug.
Lost & Found is compatible with Nobody Asked for Help according to the developer's direct reply. You can use recovery during a manual challenge without treating it as an active restoration skill. That permission concerns the recovery function; it does not tell you whether other active skills were used earlier in the save. Keep those questions separate.
Finish an achievement attempt with the right check
For Nobody Asked for Help, the official fix addresses saves that opened the museum without active skills but missed the achievement. Update the game and load that completed save. The developer says the achievement should unlock on loading for an eligible save, with no replay needed. Try that route before assuming the entire museum must be restored again.
If it still does not unlock, use Report a Problem while the completed save is loaded. Explain the relevant history accurately: when you opened the museum, whether you activated tools, and whether you tried the updated loading procedure. Buying or unlocking a skill is a different action from activating it, and Lost & Found is explicitly allowed.
Do not infer a hidden recovery trick for a save that genuinely used an active skill. The developer's stated rule does not provide a way to erase that action or change the achievement history. We have not verified a reversal method. Keep the existing save for the normal restoration you completed, and seek a direct answer about any uncertainty before changing files or starting another attempt.
Report a problem with a useful reproduction
A good report identifies one unexpected behavior. Include the exhibit name, the fragment label or number you can see, the action you attempted, and the result. Say which update or setting is relevant. This gives the developer a concrete place to start, rather than a broad description that the whole museum stopped working.
For a targeting issue, identify the held fragment and the skill. For a placement issue, distinguish insertion from removal and mention Easy Placement or Lock Correct Pieces when relevant. For a recovery issue, include the remaining count and what appeared in front of the T-Rex. For an achievement issue, load the completed save before using the report control.
Record what you observed without expanding it into a conclusion you cannot support. A piece you did not locate is missing from your search, not automatically outside the map. An unsuccessful fit is a reproducible placement problem only after the relevant checks. That precision reduces unnecessary restarts and helps the developer investigate the state that actually exists.
Choose the next guide by your symptom
| Your immediate problem | Next guide | First check |
|---|---|---|
| The last fragments will not turn up | Lost & Found | Remaining count and pause-menu message |
| The manual-run achievement is unclear | Nobody Asked for Help | Active use versus buying a skill |
| Insight highlights another set | Skills and Insight | Which target fragment is held |
| A piece is hard to align or remove | Piece placement | Exhibit, outline, and protection setting |
| A corner, outline, or label is unreadable | Visibility settings | Scene brightness versus interface contrast |